


Document Actions
gvSIG-Desktop 1.10. User Manual
Table of contents (ToC)
Table of contents
The “Table of Contents” is the area used to list the different layers which make up the cartographic information.
A check box next to each layer indicates whether it is "visible” or not.
Remember that an active layer is not the same as a "visible" layer. When a layer is “active” it is highlighted compared to the other layers included in the “Table of contents”. When a layer is activated, gvSIG is notified that the elements of this layer can be worked with.

The order of appearance of the layers in the “View” is important because it ties in with the display order. Layers made up of text elements, points and lines are placed at the top whilst the polygonal layers and images which make up the background of the view are placed at the bottom.
To move the layers in the ToC, place the cursor over them, left click on the mouse and drag the layer to the required position.
The layers in the ToC can also be selected by using the Control and CAPS keys.
Grouping and ungrouping layers
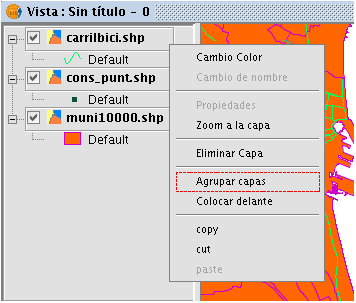
From version 0.4 onwards, gvSIG allows several layers to be grouped together. This is useful because it means a large number of layers can be kept in the ToC without taking up a lot of space. This option also allows operations to be carried out on all the layers that make up a group at the same time. To group a set of layers together, select the layers, click and hold down the CAPS key and right click on the mouse on any of the layers and select the “Group layers” option.
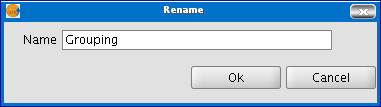
The following dialogue window appears and a name for the new grouping can be input.
When the name of the new grouping has been input, it appears in the ToC as shown below.
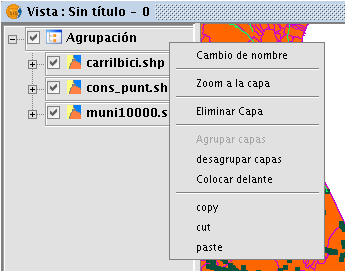
To undo a grouping, right click on the grouping so that the contextual menu appears. Select the "Ungroup layers" option.
Select raster layer
Raster layers can be selected through the raster toolbar by selecting the option "Raster layer" on the left drop-down button and "Select raster layers" on the drop-down button on the right.

Select raster layer icon
When multiple raster layers have been loaded into the view, you can select one of those as current layer. By clicking on one of the layers in the TOC, the layer will be selected and its name will appear as current layer in the drop-down text box of the toolbar.


